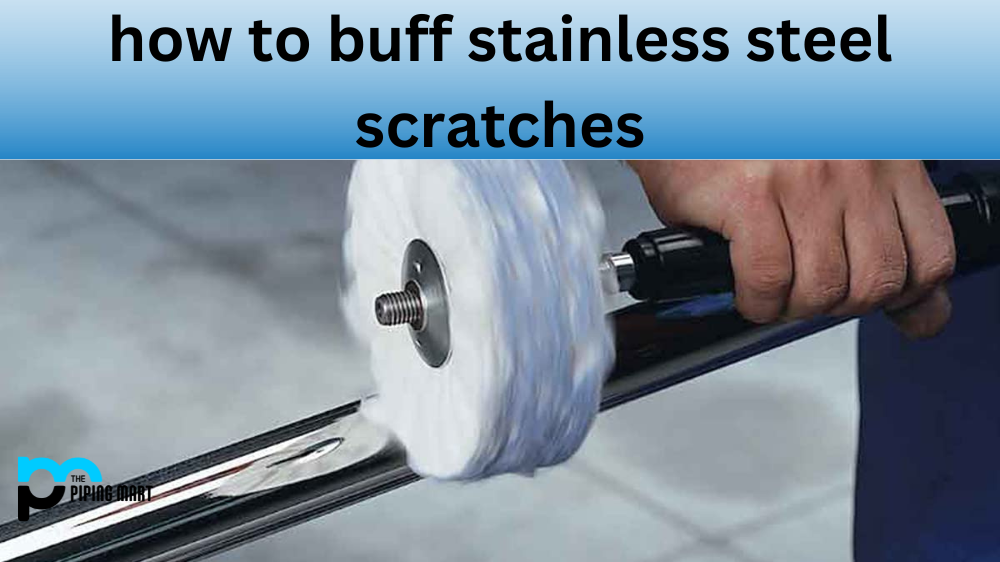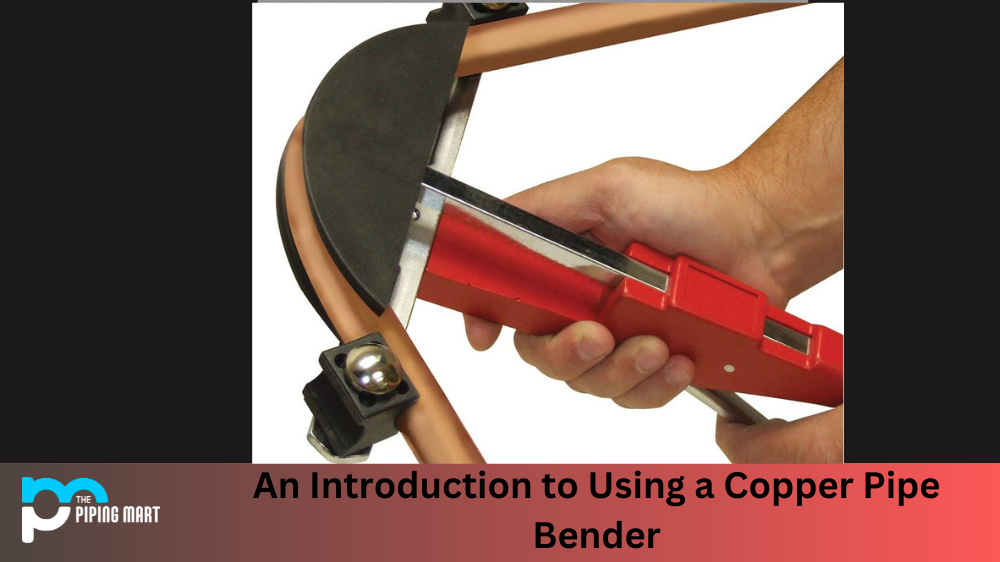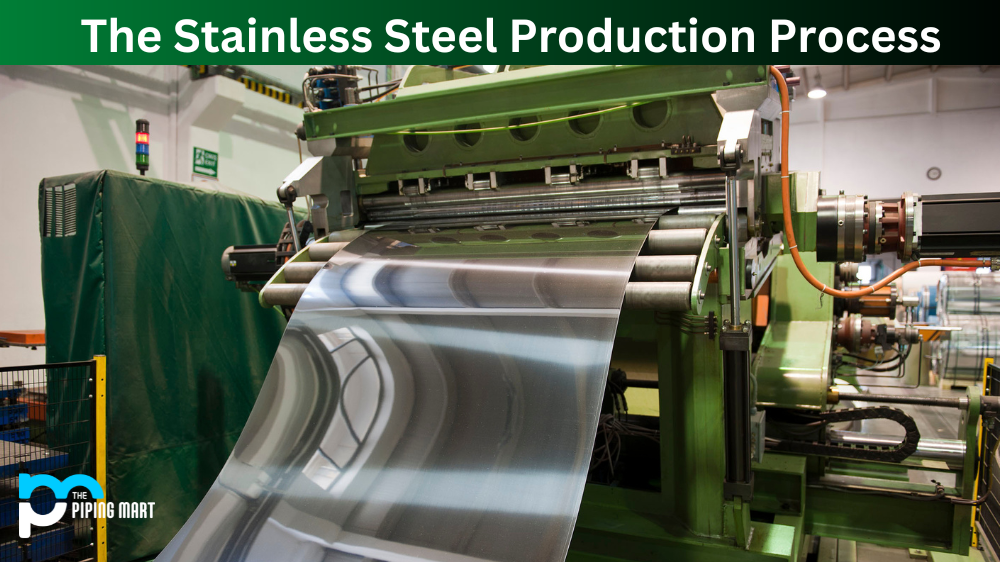
The process of welding metals together can be a difficult task. It requires careful preparation, skill, and the right tools. This is especially true when it comes to welding two different types of metal together, such as brass and copper. In this blog post, we’ll break down the important steps necessary for successfully welding brass and copper together.
Preparing the Metals
The first step in any successful welding job is proper preparation. You will need to make sure that the surfaces of both metals are clean before you begin. The best way to do this is with a wire brush or sandpaper, anything that can remove dirt, rust, and other debris from the surface of the metal. Once you have cleaned the surface, use a file to remove any burrs or sharp edges so that they do not interfere with your weld later on.
Welding Procedure
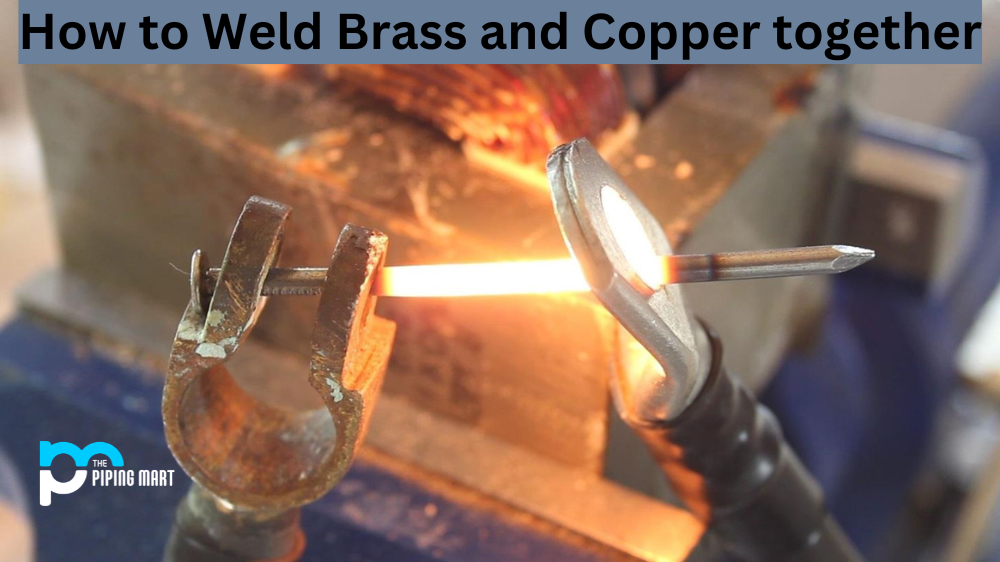
Once your surfaces are clean and prepped, it’s time to start welding! First, set up your workspace so that it is comfortable and well-ventilated—you don’t want any fumes lingering around while you work. Then select your appropriate welding rod for brass and copper—a low-temperature brazing rod should work fine for most projects—and fire up your torch. Start by heating up one side of the joint until it glows red-hot; this will allow you to form a strong bond between the two metals. Next, add some flux to avoid oxidation during the heat process; this will help keep your weld area clean for longer periods of time. Finally, slowly run your torch along the joint until you reach an even temperature across both pieces of metal; this should take about 5 minutes or so. Once complete, allow it to cool naturally before checking if everything has fused correctly.
Finishing Touches
Now that your weld is complete, there are still some finishing touches that need doing before you can call it a day: remove any slag or excess material from around the joint using an angle grinder or sander; check over everything once more using a magnifying glass; apply sealant around the joint (optional); ensure all connections are secure; buff down any rough patches with a cloth; clean away any residual flux residue with acetone or similar product; double check all joints for strength by gently tugging on them (if they pass this test then congratulations—you have successfully completed your project!).
Conclusion:
Welding brass and copper together can be challenging, but with patience and practice, anyone can master it! By following the steps outlined above, you, too, can achieve professional results when joining these two metals together in no time at all! So why not give it a try today? With just some basic tools and materials, as well as an understanding of how each step works, you’ll be ready to tackle many small projects in no time at all! Good luck!
Pipingmart is a B2B portal that specializes in metal, industrial and piping items. Additionally, we share the latest information and information about materials, products and various types of grades to assist businesses that are involved in this business.