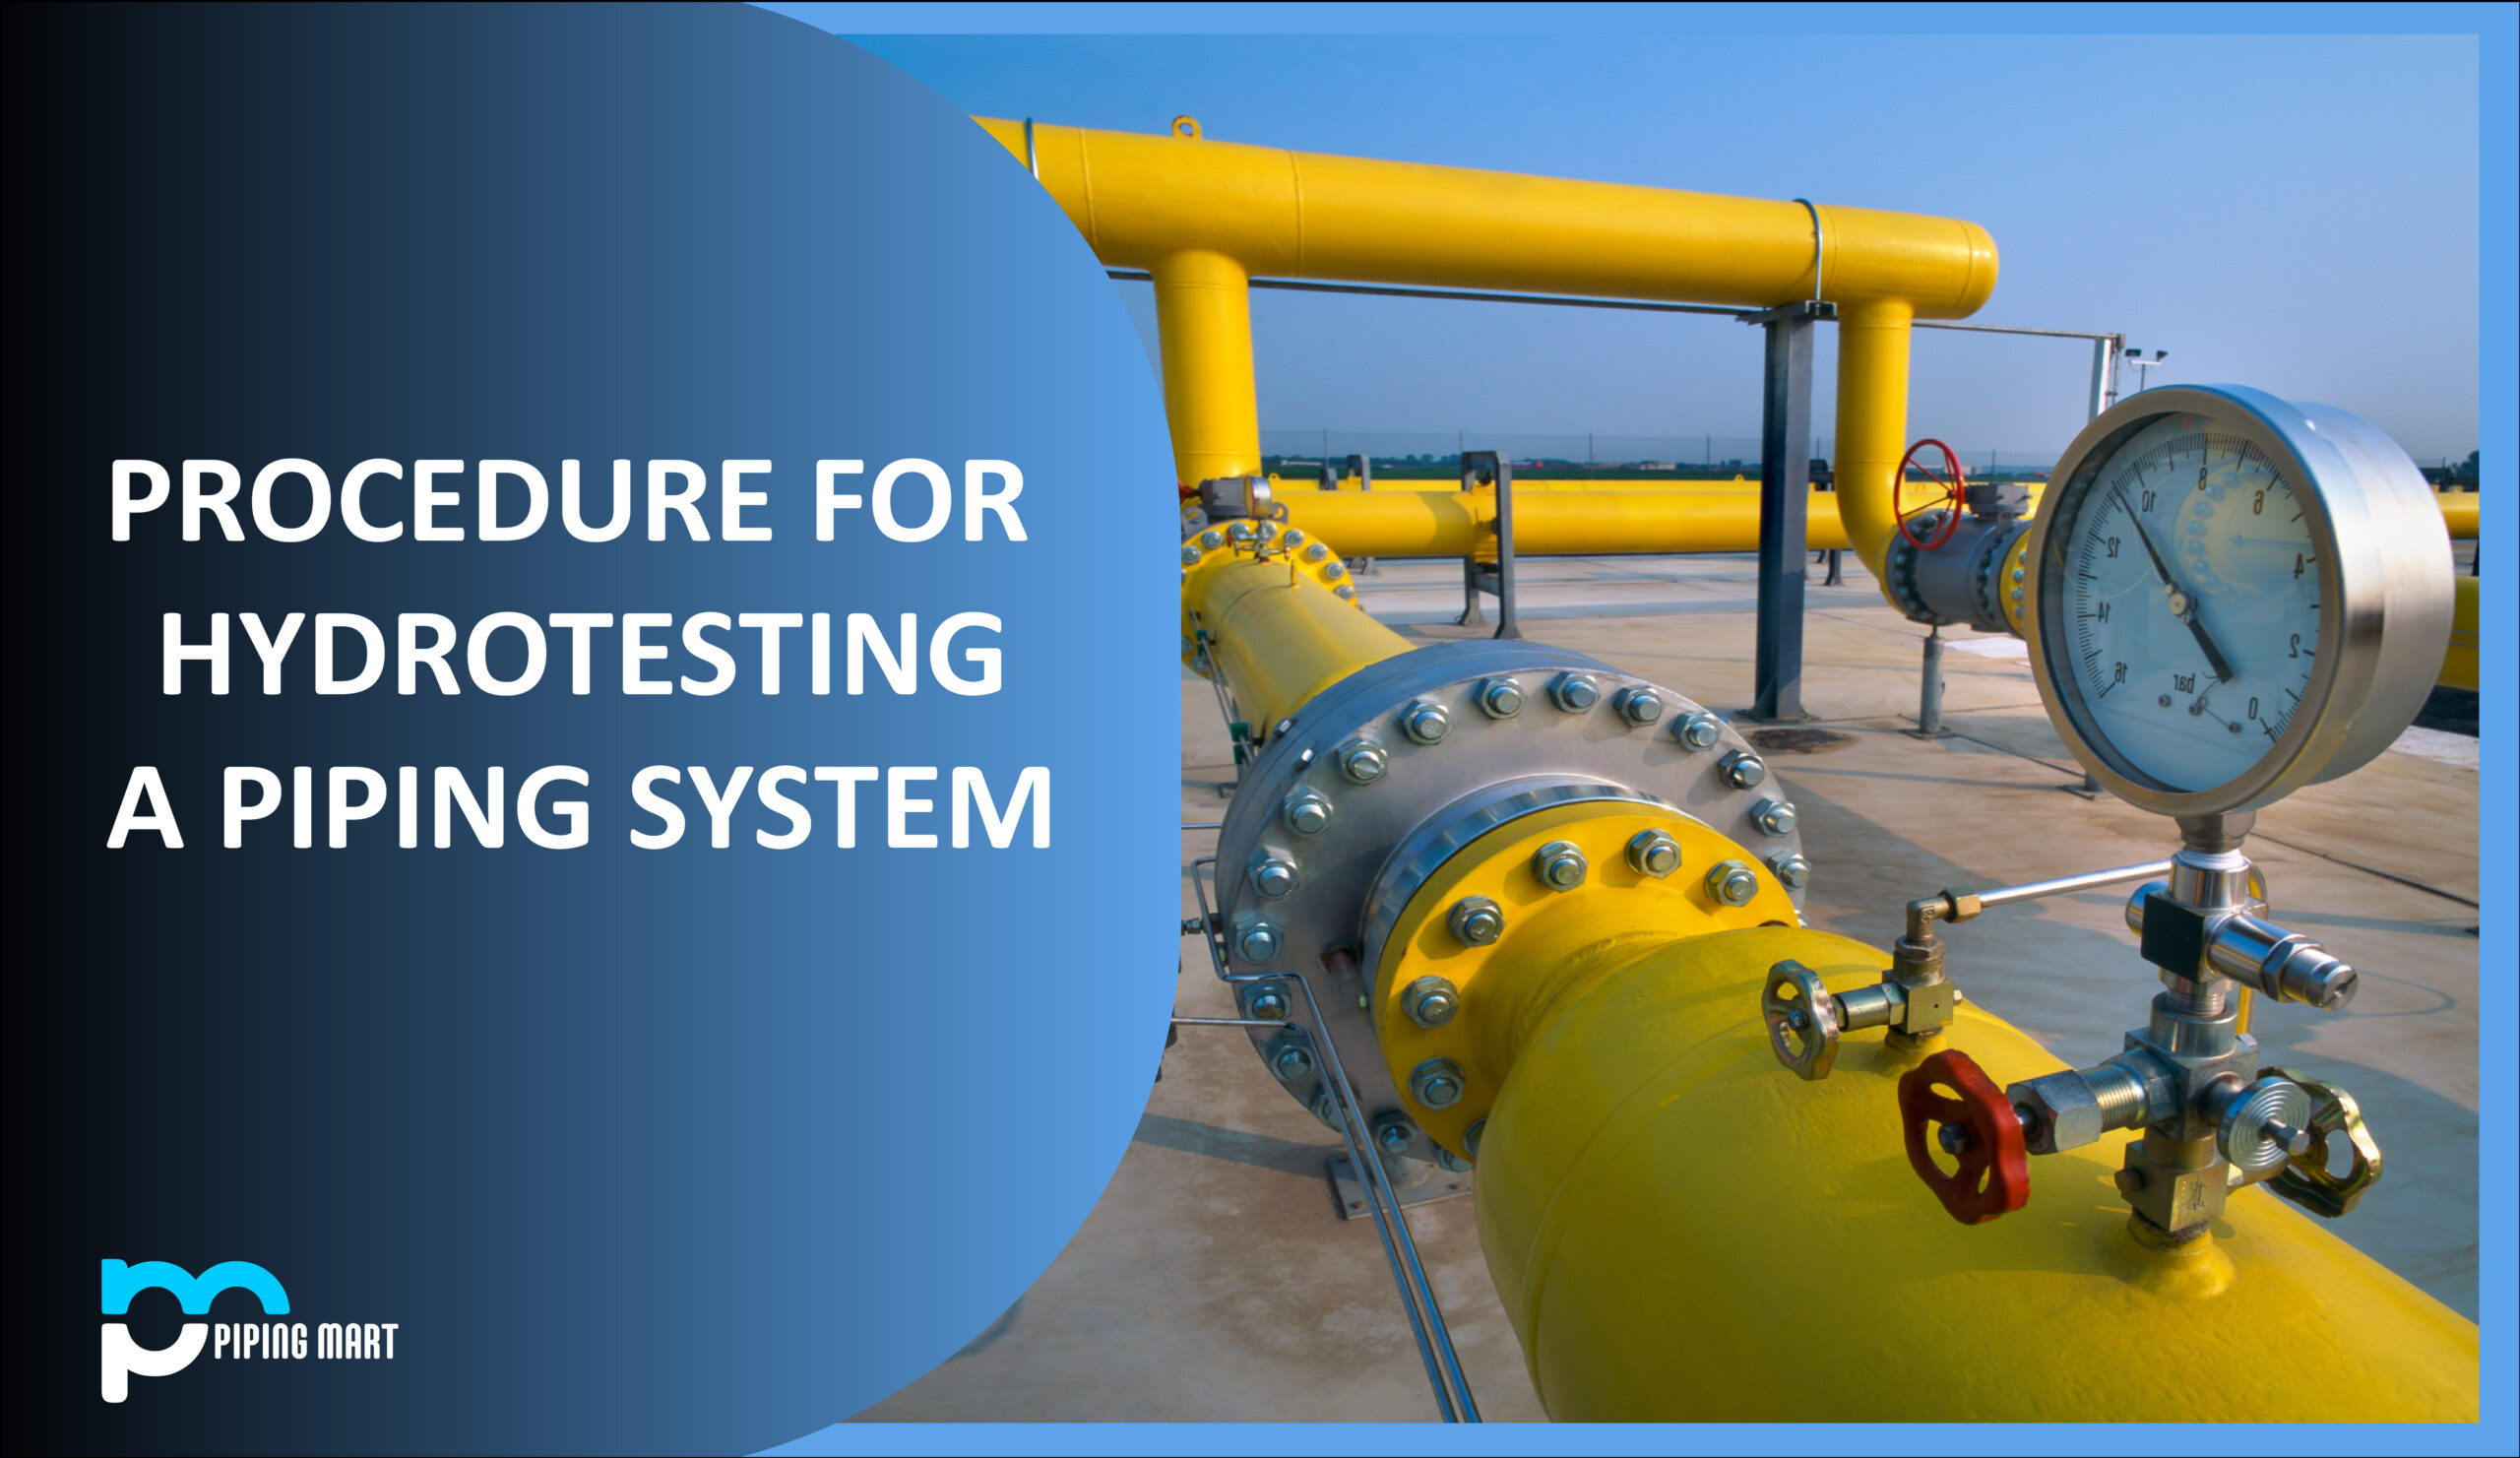
The Hydro test sometimes referred to as the Hydrostatic test, is an important step in the installation and upkeep of the piping system. It is essential to ensure that the new piping system is correctly commissioned and ready to use before it is put into use.
Additionally, periodic cleaning of the pipe system is necessary for good maintenance (shutdowns). Therefore, if a piping system is prone to failure or leakage, preventive maintenance will find it.
The piping network and several vessels in the processing industries may be large and subject to high pressure. Therefore, it is necessary to conduct a hydro test to make sure the fitters installed the weld and flange joints correctly. Additionally, it guarantees that the chosen material can withstand the pressure and that the running fluid won’t leak from the pipe system.
Why Perform a Hydro test?
We need to understand the causes of the hydro test results. Here are a few of the most crucial points:
- Normally, pressure tests are conducted on newly built piping systems. Older lines currently in use could undergo another test to ensure the pipe system is still dependable and safe. For system modifications, it is occasionally necessary to determine whether the same line is suitable for greater working pressure.
- To guarantee the pipe system’s integrity.
- Must make sure the pressurized pipe system is reliable, safe, and leak-free.
- To assess the durability of the materials used for the process and the strength of the weld connections.
- To examine the flange joints.
- To make sure that everything runs smoothly throughout the operational cycle
- To relieve the system of its stressors.
Types of Pressure Tests
There are mainly two types of pressure tests carried out in the industry-
- Hydro-static Test (Hydro test)
- Pneumatic Test
- Hydro test
Water is used as the test medium during the hydro test.
- Pneumatic Test
You can do the pneumatic test with air, nitrogen, or other non-flammable gas.
Pressure Related Terms
- Operating Pressure
The amount of internal force exerted against the inside walls of a pipe or vessel under normal operating circumstances is known as the operating pressure. A piping system typically operates at peak efficiency when it is at its working pressure.
The entire pressurized piping system could collapse if the working pressure is not maintained.
- Design Pressure
The pressure at which a system is designed is known as the design pressure. In other words, the maximum pressure to which the piping system can be exposed is known as design pressure.
- Maximum Allowable Working Pressure (MAWP)
The MAWP is the highest pressure the pipe system’s most vulnerable part can withstand. Based on back-calculation (from the piping system manufacturing) and design norms and standards.
The MAWP should be explicitly stated for containers or pipes to determine what pressures the system can withstand.
- Hydro-test Pressure
The pressure to test a piping system is always higher than the pressure used during design. The system will never malfunction if it has undergone hydro testing.
Apparatus used for Hydro-test
The primary equipment used during a hydro test is listed below:
- Pump: To increase systemic pressure
- Use a hose and fittings to connect the pump, piping system, and other equipment.
- Test media: Water is typically used as a test medium.
- Measure internal pressure with a pressure gauge.
- To display the acceptable temperature, use a temperature gauge.
- Torch Flash – To check for leaks visually
- Joints should be properly tightened using a torque wrench.
- Before the test begins, use supports to secure the pipe or vessel.
- The pressure range of the gauge should not be less than 1.5 & larger than four times the hydro test pressure, and the gauges should be calibrated within a year.
Water Selection Criteria for Hydro test
The pipe system may get harmed if dirty water from a lake or pond is used for hydro testing without prior treatment.
Even while the pipe won’t corrode right away, the effect will become apparent with time. Every time a hydro test is conducted, polluted water may run through the pipe system, which may cause corrosion and subsequent leakage.
We should therefore choose to utilize clean, treated water whenever possible. Usually, neither the construction site, fabrication yard, nor operational unit has clean water access. Therefore, the hydro test water should be near drinking/potable water. The general requirements for water are as follows:
- Ideally, the pH level will range from 7 to 8.5.
- The hardness of the water should range from 150 to 400 ppm.
- Calcium Hardness (Ca): 80 ppm is the maximum permissible value.
- Acceptable Magnesium Hardness (Mg) is less than 40 ppm.
- Iron content (Fe): 0.3 ppm or less
- Turbidity: permitted between 10 and 20 ppm
- TSS (Total Suspended Solids) should be NIL, and the temperature should not be lower than 17°C.
Preparation Before Hydro test
- The system should be thoroughly cleaned using a specialized cleaning system before the hydro test to eliminate all debris and foreign objects.
- Make sure the required amount of testing water is accessible.
- Verify that the NDT Inspector has authorized all of the weldings.
- Check if the pipe or vessel is clean inside and free of any slag or solid debris.
- For easier visual inspection, ensure the pipe’s or vessel’s exterior is dry.
- Verify the pressure gauge calibration report and confirm that the lower and upper limits are 1.5 to 4 times the testing pressure or greater to overlook any variance in the results.
- Make sure the test temperature is not higher than 48 ° C.
- Make sure the workshop has tested the nozzle reinforcement pads.
- All lines should be examined to ensure that the piping system can be quickly and readily drained after testing.
- To remove the air from the pipe or vessel, a high-point vent should be kept open.
- Ensure that every joint is visible to the inspector and not covered with insulation.
- All additional hardware or pipelines that must be kept out of the testing should be isolated. Blind flange or spectacle bling can be used to isolate it.
- Use temporary restraints if the lines include an expansion joint or spring support to stop any excessive movement or distortion brought on by the hydro test load.
Testing Steps
Follow the following steps during the delivery of the hydro-test:
- Step 1: Install the testing equipment as previously described; assuming installation is complete, as needed, apply the necessary torque to the nozzle, man-way, hand-way, and flange joint.
- Step 2: To guarantee the tightness of the flange joint, adhere to the correct tightening sequence.
- Step 3: Begin pouring water into the pipe or container (after confirmation of vent opening and ppm requirement of water)
- Step 4: Allow the water to overflow the nozzle or vent at the high point so that the line is air-free.
- Step 5: Turn off the nozzle, let the waterfall, and check to see any air bubbles inside the specimen.
- Step 6: Start the pump to pressurize the water inside the equipment pipe if the line becomes air-free. Hydro-test pressure is used to determine which pump to use. Verify that the pump output pressure does not exceed the hydro-test pressure.
- Step 7: Continuously read the pressure gauge’s readings to assess the situation.
- Step 8: Gradually raise the pressure following the prescribed technique or based on prior knowledge (During pressuring from design pressure to test pressure, make sure no one is standing near or on the Piping joint).
- Step 9: At this point, maintain the test pressure for at least 30 minutes or as long as the designer has indicated. Observe the pressure gauge because it shouldn’t drop throughout the holding period. The connections to the pipes or vessels shouldn’t be closely examined because doing so could put the inspector at risk.
- Step 10: After gradually lowering the pressure to the design pressure, inspect the weld or flange joints for leaks. The process of depressurizing can begin if there are no leaks.
- Step 11: To prevent any potential collapse caused by the vacuum formed inside the pipe or vessel, always depressurize the system gradually, never open the bottom nozzle at first, open the high point vent first, and then only open the low point drain.
Important Points to Consider During Hydro test
- After the hydro-test is finished, orifice plates, spray nozzles, and similar flow restriction equipment or components should be placed.
- Use a less expensive gasket if disassembling the piping system is necessary for testing. After the test is complete, the test gasket must be replaced with the gasket indicated in the PMS (Piping Material Specification).
- Filling the tube gradually will increase the likelihood that the air will be completely removed.
- The lowest point along the line should be where the testing pump is connected.
- To get rid of all the air inside the pump, prime it first.
- To avoid backflow, the pump must be disconnected from the line.
Test Reports
A report is produced following the hydro test that contains the following information:
- Project number
- Job Number
- Hydro-test duration
- Pressure gauge records
- Instrument calibration certificates
- Date-of-inspection/test
- Tag name or spool number
- Test medium
- Test pressure
- Test temperature
- Test results
Pipingmart is B2B portal specializes in industrial, metal and piping products. Also, share latest information and news related to products, materials and different types grades to help business dealing in this industry.